Windows Remote Desktop: Create Your Own Shortcuts
In daily work, Remote Desktop (mstsc) is a common tool for connecting to servers or office computers. Having to enter the IP address, username, and password every time can be a bit tedious. Today, I'll share a few tips to help you turn Remote Desktop into a one-click connection shortcut.
1. Basic Operation: Save an RDP File
Windows Remote Desktop Connection (mstsc.exe) allows you to save connection configurations as a file with the .rdp extension, so you don't have to re-enter all the information next time.
Steps:
-
Press
Win + R, typemstsc, and open the Remote Desktop Connection window -
Enter the computer's IP address and username
-
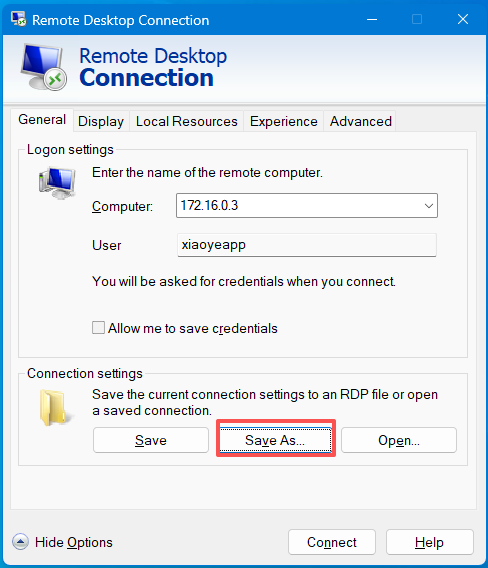
Click "Show Options" below the Connect button to expand more settings
-
In the "General" tab, click the "Save As" button at the bottom
-
Choose a save location, enter a filename, and click Save
Now you have an .rdp file on your desktop. Double-click it to quickly initiate a connection.

2. Advanced Tip: Make the RDP File Remember the Password
By default, a saved RDP file does not include the password, so you still need to enter it manually each time. To achieve a true "one-click connection," here's a simple trick.
Two Steps to Remember the Password:
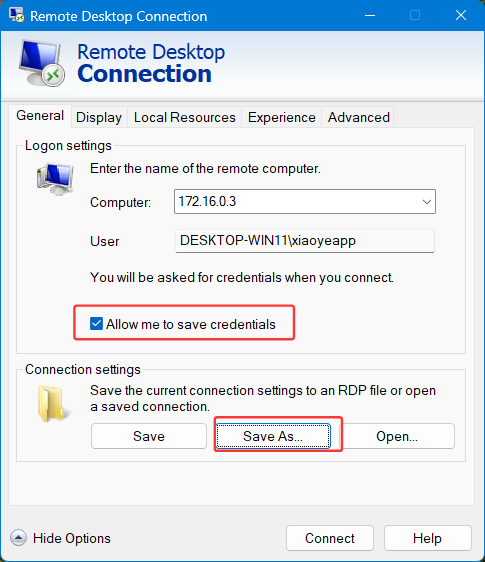
Step 1: Check "Save Credentials," then Save As an RDP File
Step 2: Run the RDP File
Double-click the RDP file again. This time, you'll need to enter the password once. After the connection completes, the password will be saved automatically.
Principle: The "save credentials" operation in the RDP file saves the credentials to the Windows Credential Manager. From then on, double-clicking this RDP file allows you to log in directly without re-entering the password.
Reminder: Do not save credentials on public computers.
3. Security Alert: The Yellow Warning on RDP Files
When you double-click an RDP file, you might see a yellow security warning:
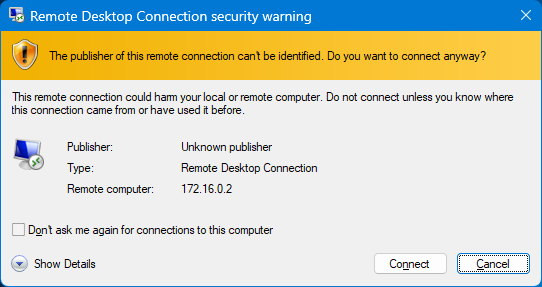
This warning is a security feature in Windows, as RDP files may come from untrusted sources and automatically initiate a connection when double-clicked. However, if you created the RDP file yourself or it comes from a trusted colleague, this recurring warning can be a bit annoying.
How to Make an RDP File "Trusted"?
To make Windows trust your RDP file, you need to digitally sign it. A signed RDP file will have the following characteristics:
-
The yellow warning bar changes to blue or green (indicating the publisher has been verified)
-
Displays "This remote connection is signed by a trusted publisher"
RDP File Signing Methods:
-
Use a code signing certificate: Purchase a code signing certificate from a legitimate CA (such as Symantec, DigiCert)
-
Sign with rdpsign:
rdpsign /sha256 <your certificate thumbprint> <rdp file>
-
Verify the signature: Right-click the RDP file > Properties > Digital Signatures tab, where you can see the signature information
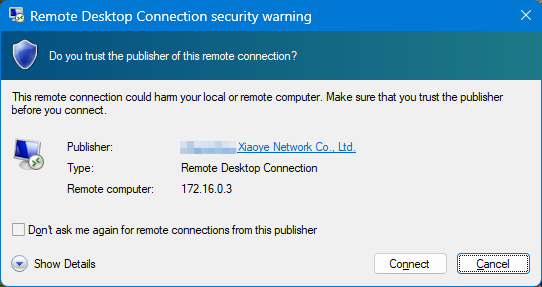
Double-click the RDP file again, and it looks much cleaner. Of course, signing is not just about appearance—it also prevents tampering with critical information. If someone modifies key information in your RDP file, the signature will become invalid immediately, triggering another orange warning.
4. Summary and Best Practices
-
Personal daily use: Follow Step 2 to set up an RDP file that remembers the password for quick and convenient access
-
Team shared connections: Use RDP files without saved passwords, paired with a shared password management tool
-
Security-sensitive environments: Enable the "Always prompt for password" policy in Group Policy, or use certificate-signed RDP files
-
Cross-platform use: Other remote desktop clients that support the RDP protocol generally also support importing RDP files, making things much easier
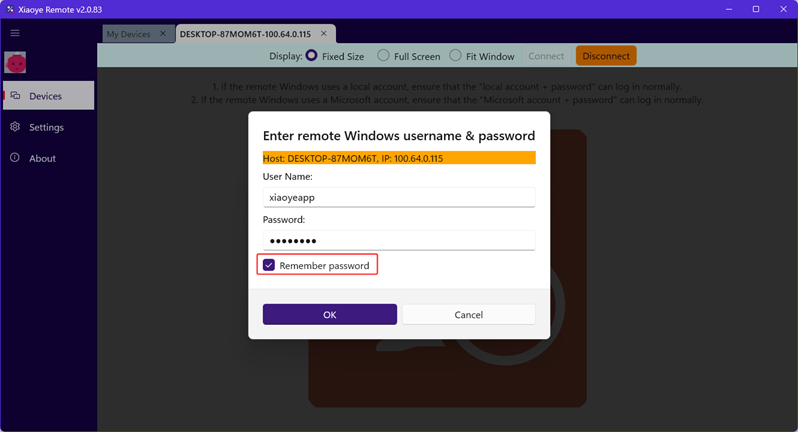
If you use Xiaoye Remote, the default experience is the same as using an RDP file—just double-click to connect. You can also choose to remember the password, which works similarly to the process described above—saving credentials to your local system's Windows Credential Manager
With these tips, your remote work experience will be smoother. If you have any questions or better suggestions, feel free to leave a comment below!