WinUI 3 Data Binding: How to Make UI Update Automatically?
1. What is UI Automatic Update?
Imagine a common scenario:
You type in an input box, and a text label on the other side of the screen changes synchronously, without you needing to click any "Save" or "Refresh" button.
This is UI automatic update.
Without Data Binding

The more places where data changes, the more manual data-moving code you write. If you miss one place when modifying a field, the UI will display inconsistently.
With Data Binding

The middle two steps are completely handled by the framework. You only need to do one thing: tell the UI what the relationship with the data is.
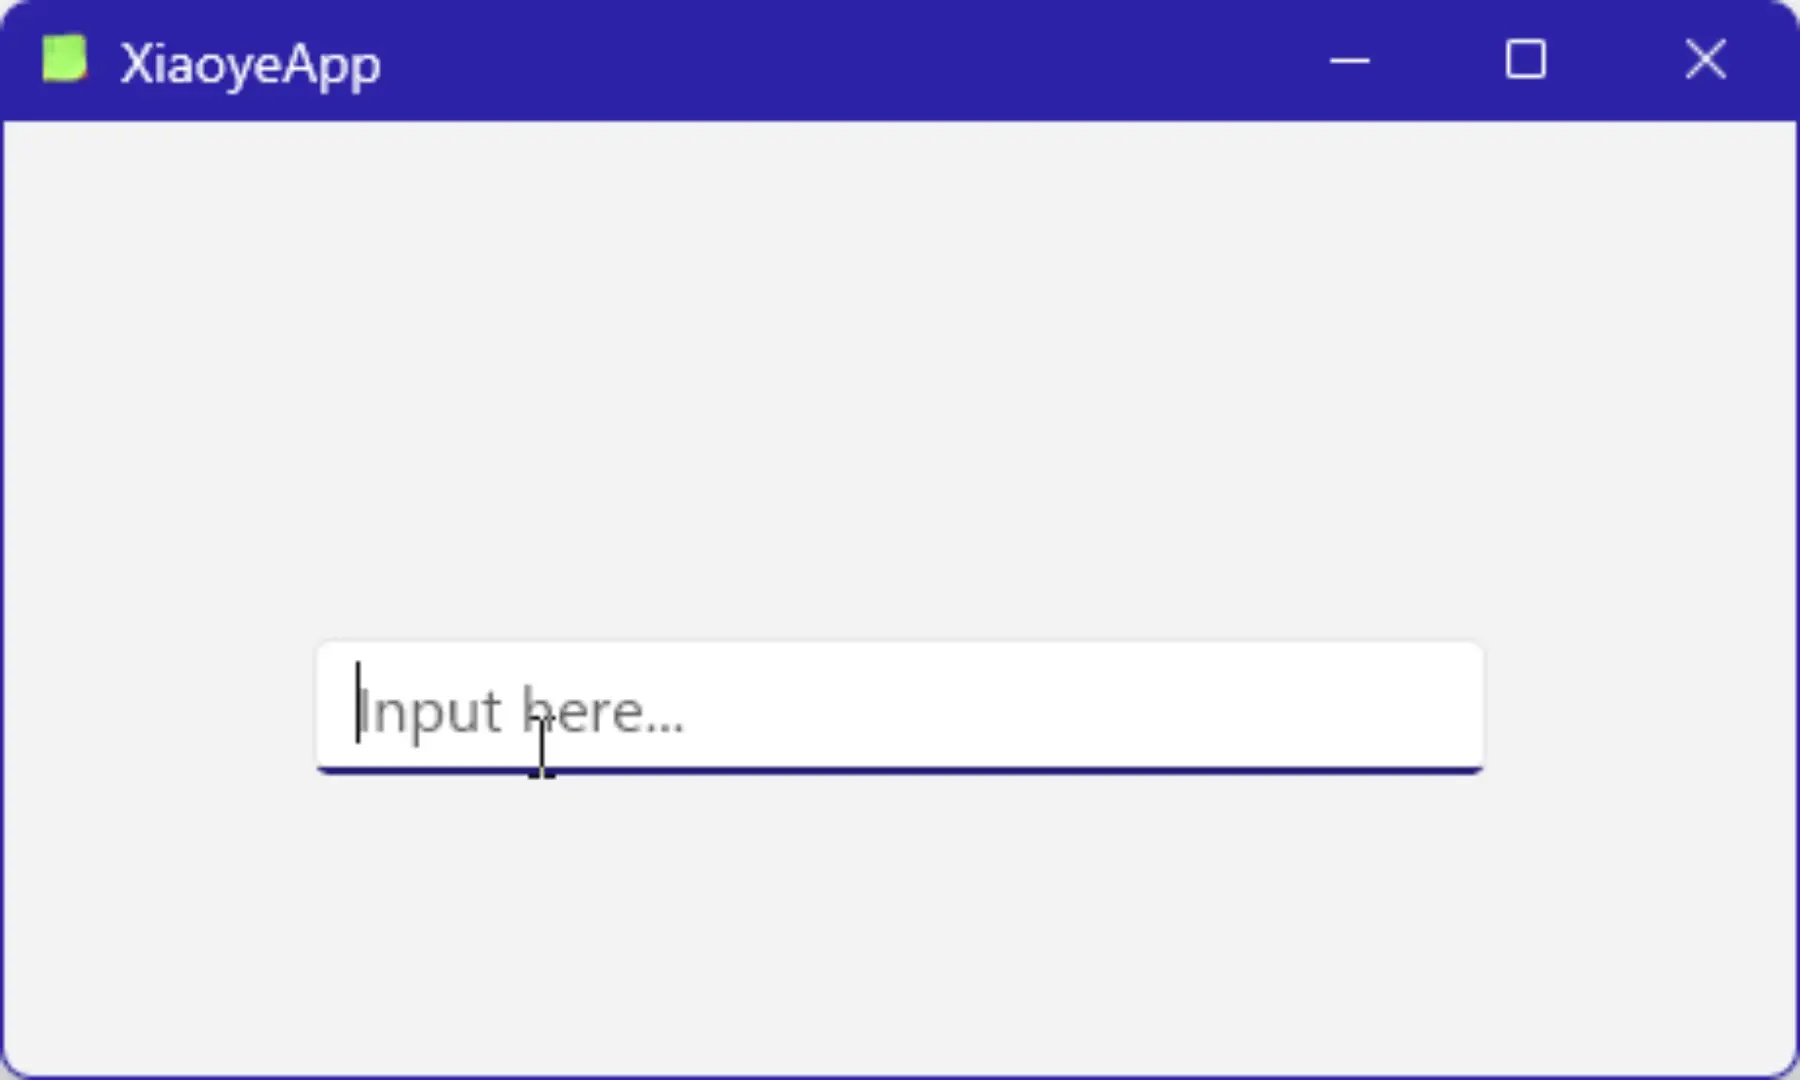
The following diagram shows a text input box and a text label displaying text. When you type in the text box, the text is automatically passed to the bound variable, and then reversely bound to the text label, achieving real-time automatic update.
2. Two Core Concepts for UI Automatic Update
2.1 Data Binding: Establishing the Connection
Declare in XAML: "This property of this control equals that property of that data."
For example:
<TextBlock Text="{x:Bind UserName}" />
This line means: the content displayed by this TextBlock always equals the "UserName" data.
No C# code is needed to assign values.
2.2 INotifyPropertyChanged: Sending Notifications
This is the biggest pitfall for beginners.
WinUI does not automatically detect changes to普通 C# properties. You must have the data class actively say "I've changed."
// Written like this, UI will NOT update ❌
public string UserName { get; set; }

// Written like this, UI will update automatically ✅
private string _userName;
public string UserName
{
    get => _userName;
    set
    {
        _userName = value;
        NotifyUIChanged();  // Key part
    }
}
There are multiple ways to send notifications:
Method 1: Native INotifyPropertyChanged
Implement the INotifyPropertyChanged interface, implement the OnPropertyChanged method, and call the notification interface when the bound variable changes.
public event PropertyChangedEventHandler PropertyChanged;

private void OnPropertyChanged([CallerMemberName] string propertyName = null)
{
    PropertyChanged?.Invoke(this, new PropertyChangedEventArgs(propertyName));
}
Method 2: Using CommunityToolkit.Mvvm
Use existing .NET libraries to simplify the notification process.
3. Basic Example: Building a Simple App Launcher
Use a real project to tie all the concepts together. The interface is simple:
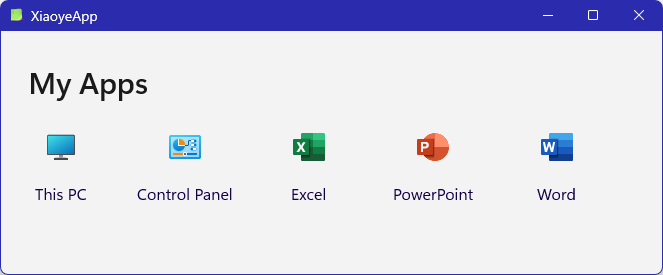
-
GridView displays the app list (icon + name)
-
Clicking an app launches it
3.1 Project Structure
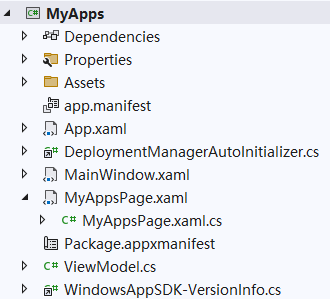
The structure is simplified here, mainly consisting of two parts:
-
ViewModel: Contains data definitions and is responsible for notifications
-
MyAppsPage: The UI (XAML), responsible for display
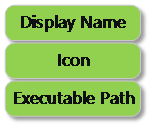
3.2 Data Model
Define what each App looks like, mainly containing: icon, name, description.
3.3 ViewModel
This is the hub of data binding.
Here we mainly expose an app list using the ObservableCollection type, so the UI will automatically refresh when apps are added or removed.
public class AppLauncherViewModel : ObservableObject
{
    public static ObservableCollection<AppInfo> AppItems;
}
3.4 XAML Interface
Core binding syntax:
| XAML Syntax | Meaning |
|---|---|
ItemsSource="{x:Bind AppItems}" |
The GridView's data source is the Apps list from the ViewModel |
Text="{x:Bind Icon}" |
Inside the DataTemplate, bind to the current item's Icon |
Text="{x:Bind Name}" |
Inside the DataTemplate, bind to the current item's Name |
3.5 Running Effect
The final running result is as follows:
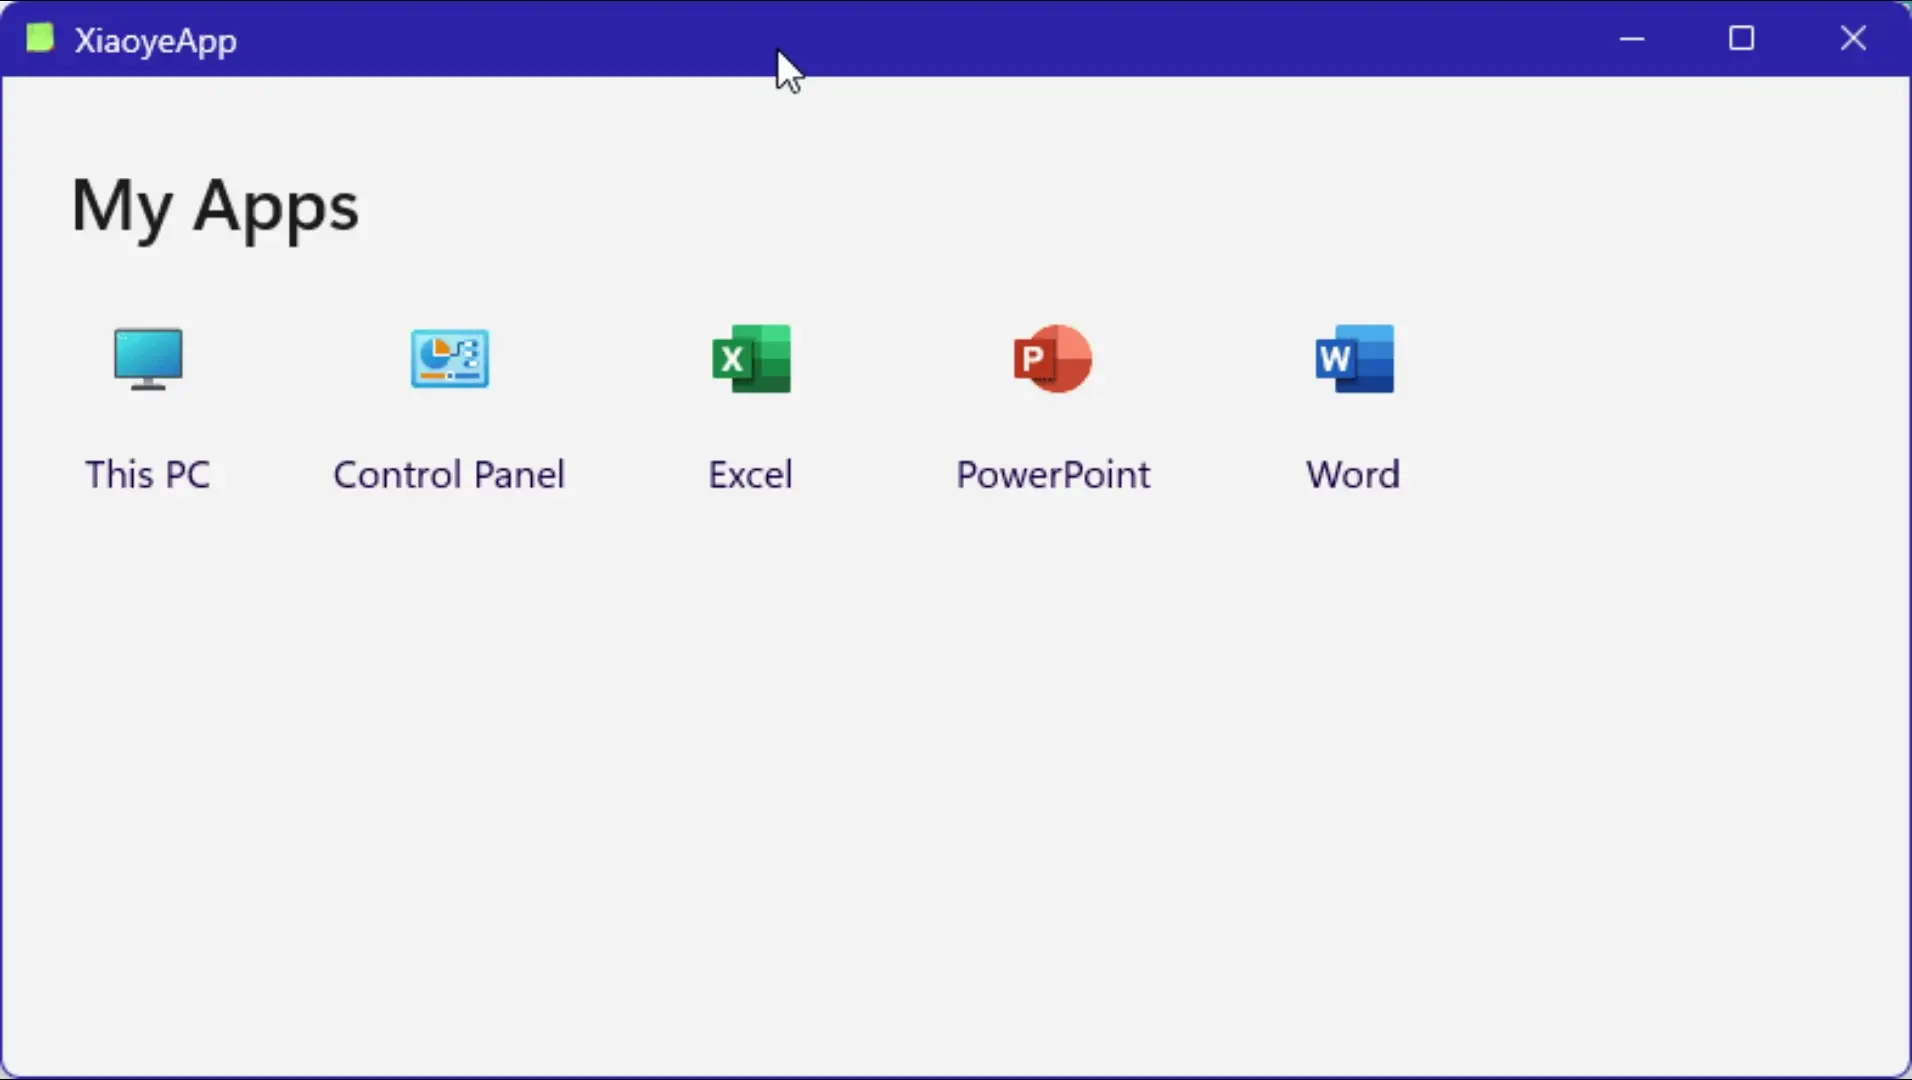
-
The interface displays a row of app icons and names
-
Clicking any app launches the corresponding app
Throughout the process, no "click → find control → assign value" code was written.
4. Summary
If you find that binding is not working, the most likely reasons are as follows:
| Symptom | Possible Cause |
|---|---|
| Data changed, but UI doesn't update | Property does not implement INotifyPropertyChanged |
| New data added to list, but GridView doesn't show it | Used List<T> instead of ObservableCollection |
WinUI 3 data binding is mainly about two things:
-
Declare the relationship: Use binding syntax in XAML
-
Send notifications: Implement INotifyPropertyChanged in the ViewModel
Once you understand this relationship, writing UI becomes "describing what the data looks like" instead of "moving data around manually". Code volume decreases, and bugs also decrease.